


Achieving that perfect hairstyle with maximum hold, without the dreaded flakes, can feel like a delicate art. Many people struggle with finding the right balance, often ending up with stiff, unnatural-looking hair or, worse, white residue that looks like dandruff. But what if there was a definitive guide to mastering this common styling challenge? This comprehensive post is designed to help you confidently apply hair gel, transforming your look from messy to magnificent, all while ensuring your hair stays flake-free and perfectly sculpted throughout the day.
Hair gel, when used correctly, is an incredibly versatile product. It can create sleek, defined styles, add texture, or provide robust hold for gravity-defdefying looks. The key lies not just in the product itself, but in the technique. By understanding your hair type, choosing the right gel, and following a few simple steps, you can unlock its full potential. Let’s dive into the ultimate guide to help you master how to apply hair gel for a great style, every single time.
Understanding Your Hair and Choosing the Right Gel to Apply Hair Gel
Before you even think about how to apply hair gel, it’s crucial to understand your hair type and the vast array of gel options available. Not all gels are created equal, and what works wonders for one person might be a disaster for another. Taking a moment to assess these factors will dramatically improve your styling results and help prevent common issues like flaking or lack of hold.
Assessing Your Hair Type
Your hair’s natural characteristics play a significant role in how gel will perform. Fine hair, for instance, can be easily weighed down by heavy gels, leading to a greasy look rather than hold. Thicker hair, on the other hand, often requires a stronger hold gel to maintain its shape. Curly hair benefits from gels that provide definition and frizz control, while straight hair might need something to add texture or sleekness. Consider your hair’s density, texture (fine, medium, coarse), and oiliness when making your choice.
Selecting the Perfect Gel Formula
The market is flooded with various hair gel formulations, each designed for specific needs and desired outcomes. Light hold gels offer natural movement and minimal stiffness, ideal for taming flyaways or achieving a subtle look. Medium hold gels provide more control without being overly rigid, perfect for everyday styles. Strong or extra-strong hold gels are best for structured, spiky, or slicked-back looks that require maximum staying power. You’ll also find gels that offer different finishes: matte for a natural, no-shine look, or high-shine for a polished, wet appearance. Some gels even boast added benefits like heat protection, UV filters, or nourishing ingredients. Experimentation is key to finding your holy grail product. For those prone to flakes, look for alcohol-free formulas, as alcohol can dry out your hair and scalp, contributing to white residue.
Preparing Your Hair: The Foundation for How to Apply Hair Gel
Proper preparation is the unsung hero of successful hair styling. Skipping these crucial steps can lead to uneven application, poor hold, and a higher likelihood of flakes. Think of it as preparing a canvas before painting; the better the canvas, the better the masterpiece.
Clean and Conditioned Hair is Key
Always start with freshly washed hair. Dirt, oil, and old product buildup can interfere with the gel’s ability to adhere to your hair strands, resulting in a weaker hold and potential flaking. Use a shampoo and conditioner appropriate for your hair type. Conditioning helps to smooth the hair cuticles, making it easier for the gel to distribute evenly and reducing friction that can lead to flakes. A clean base allows the gel to work its magic without hindrance.
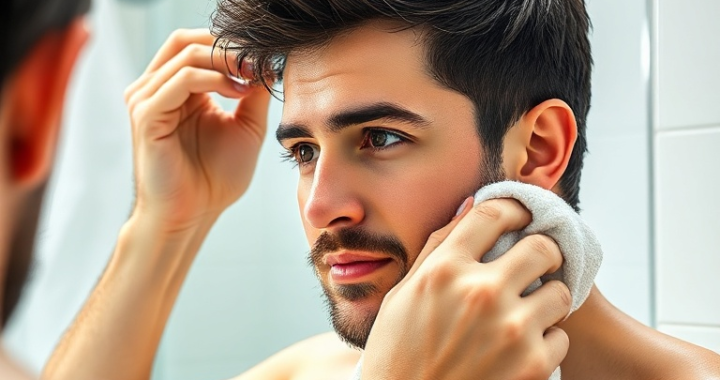
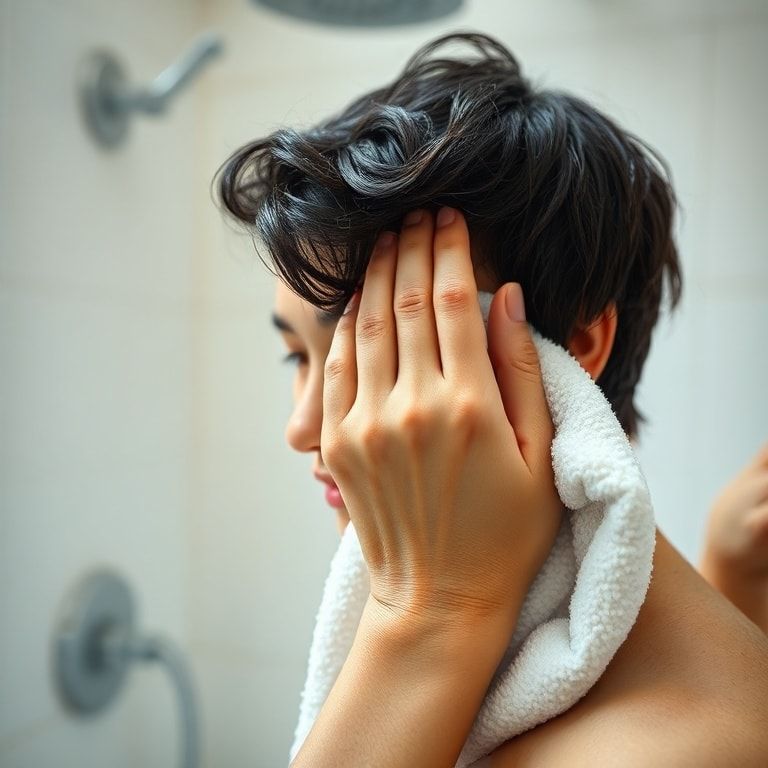
The Importance of Damp Hair
One of the most common mistakes people make when they apply hair gel is using it on dry hair. Gel is formulated to work best on damp, not dripping wet, hair. Why? When hair is damp, the product can be distributed more evenly, coating each strand without clumping. Applying gel to dry hair can lead to a concentrated application in certain areas, resulting in a crispy, helmet-like feel and, yes, flaking as the product dries unevenly and cracks. After washing, gently towel-dry your hair until it’s about 70-80% dry. It should feel cool and slightly moist to the touch, but not soaking wet.
Apply Hair Gel: 5 Steps for a Great Style
Now that your hair is prepped and you’ve chosen the perfect gel, it’s time for the main event. Follow these five steps meticulously to apply hair gel like a pro, ensuring maximum hold and a flake-free finish.
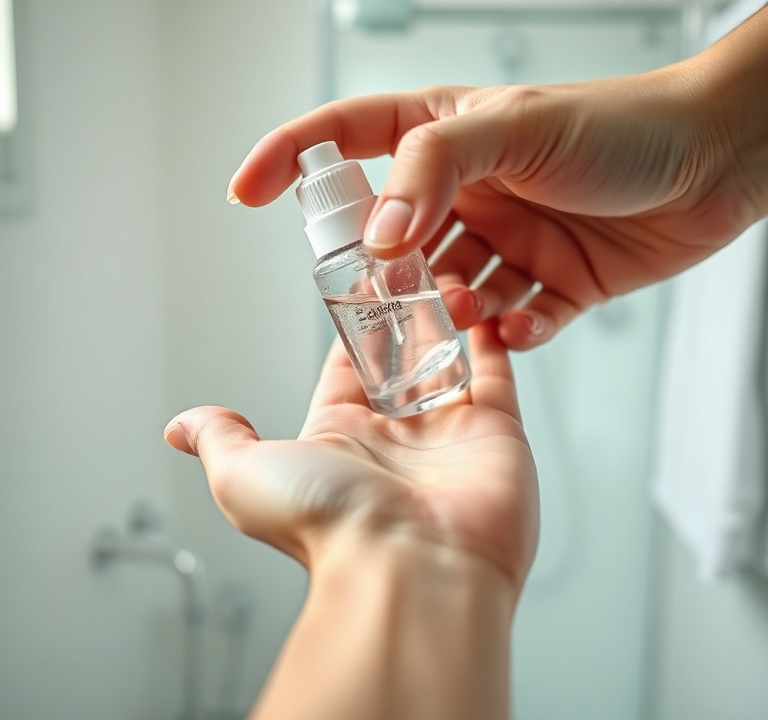
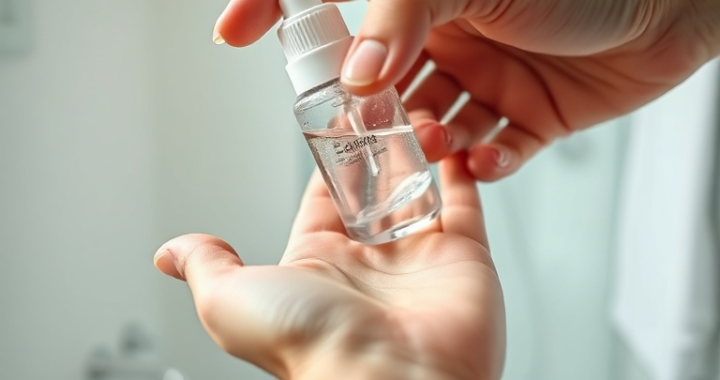
Step 1: Dispense the Right Amount of Gel
Less is often more when it comes to hair gel. Starting with a small amount prevents over-application, which is a primary cause of stiffness, heaviness, and flaking. For most short to medium-length hair, a dime-sized to nickel-sized dollop is usually sufficient. If you have very thick or long hair, you might need slightly more, but always start small and add gradually if needed. Squeeze the gel into the palm of one hand.
Step 2: Emulsify Thoroughly
This step is non-negotiable for even distribution and flake prevention. Rub the gel vigorously between both palms until it’s completely spread out and has a thin, almost invisible film. This warms the product, making it more pliable and easier to work into your hair. It also ensures that you don’t end up with clumps of gel in one spot, which will inevitably lead to stiff patches and visible flakes once dry. Think of it as activating the gel.
Step 3: Distribute Evenly Through Hair
Once emulsified, begin to apply hair gel to your hair. Start from the back or crown of your head, working your way forward. This ensures that the bulk of the product is applied where you often need the most hold, and prevents too much gel from accumulating at your hairline, which can look unnatural. Use your fingertips to work the gel through your hair, making sure to coat the strands from roots to tips. For more volume, lift sections of hair as you apply. For sleekness, smooth it down. Ensure every section receives a thin, even layer of product.
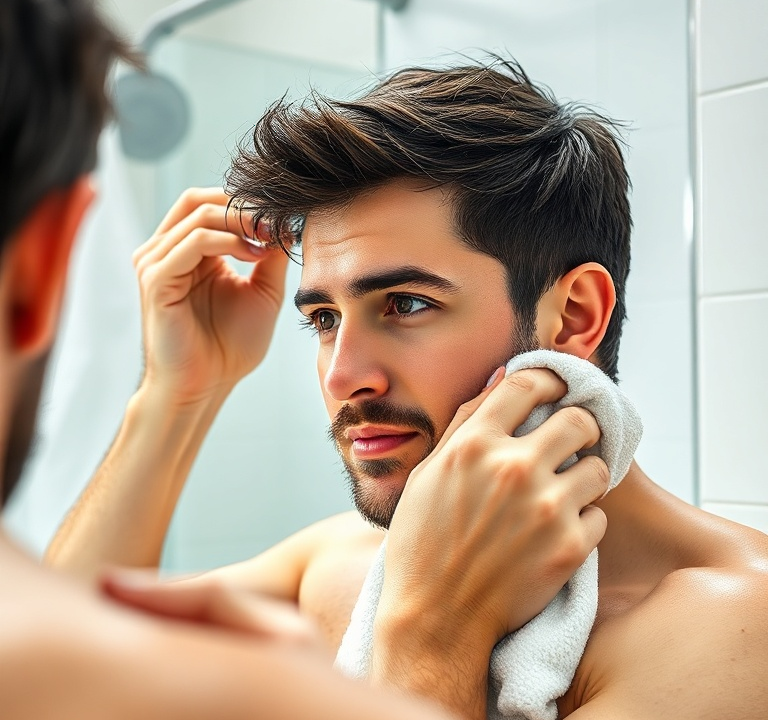
Step 4: Style and Shape to Perfection
This is where your desired look comes to life. Use your fingers to sculpt your hair into the desired style, whether it’s spiky, slicked back, textured, or neatly parted. For very precise styles, you might use a comb or brush after initial finger application. Work quickly but deliberately, as gel starts to set as it dries. If you’re going for a messy, textured look, scrunch and tousle your hair with your hands. For a sleek finish, comb through for a smooth, defined appearance. Remember to consider your hair’s natural growth pattern and any cowlicks.

Step 5: Let it Set (or Blow Dry for Extra Hold)
Once styled, resist the urge to constantly touch your hair. Allow the gel to air dry completely for the most natural and flake-free finish. As the gel dries, it forms a cast that locks your style in place. If you need a faster set or desire extra strong hold and volume, you can use a blow dryer on a cool or low heat setting. Direct the airflow from underneath to boost volume, or from above to flatten and smooth. Be cautious with heat, as excessive heat can sometimes cause certain gels to flake. Once dry, your style should be firmly set without any sticky residue or visible flakes.
Troubleshooting: How to Apply Hair Gel Without Flakes
Even with the best intentions, flakes can sometimes appear. Understanding why they happen and how to prevent them is crucial for a flawless finish when you apply hair gel.
Common Causes of Flakes
Flakes are primarily caused by product buildup, using too much gel, applying gel to dry hair, or using a gel formulation that contains alcohol or other drying agents. When gel dries too quickly or unevenly, or if there’s too much product, it can crack and create visible white flakes. Over-brushing or over-combing hair once the gel has dried can also break the product’s film, leading to flakes. Sometimes, old, expired gel can also be a culprit, as its chemical composition may have changed.
Tips to Prevent Flaking
To ensure a flake-free experience, always start with clean, damp hair. Use only a small amount of gel, emulsifying it thoroughly in your hands before applying. Distribute the gel evenly from roots to tips, avoiding clumping. Choose an alcohol-free gel, as these are less likely to dry out your hair and scalp. Once your hair is styled, avoid touching or combing it until it’s completely dry. If you notice a few flakes, resist the urge to brush them out; instead, gently pat them away or re-dampen the area with a tiny bit of water and re-style. Regularly clarify your hair to remove any lingering product buildup, ensuring a fresh start each time you apply hair gel.
Maintaining Your Style and Hair Health
A great hairstyle isn’t just about the initial application; it’s also about how you maintain it throughout the day and care for your hair in the long run. Proper hair care ensures your scalp remains healthy and your hair receptive to styling products.
Touch-Ups and Longevity
For styles that need to last all day, a light mist of hairspray can provide an extra layer of hold without adding weight or stiffness. If you need a mid-day touch-up, avoid adding more gel directly to dry hair, as this can lead to flaking. Instead, slightly dampen your fingertips with water and gently reshape any areas that have lost their hold. For internal linking, consider exploring our “Guide to Choosing the Best Hairspray for Your Hair Type” for more options.
Washing Out Gel and Hair Care Routine
At the end of the day, it’s essential to wash out all hair gel. Leaving gel in overnight can lead to product buildup, clogged pores on your scalp, and potentially brittle hair. Use a good quality shampoo to thoroughly cleanse your hair and scalp. If you use a strong hold gel daily, consider incorporating a clarifying shampoo into your routine once a week or every two weeks to remove any stubborn residue. Follow with a nourishing conditioner to keep your hair hydrated and healthy. For external linking, the American Academy of Dermatology provides excellent resources on scalp health and hair care practices.
Conclusion: Master How to Apply Hair Gel for Your Best Look
Mastering the art of how to apply hair gel for maximum hold without flakes is entirely achievable with the right knowledge and technique. By understanding your hair type, selecting the appropriate gel, and diligently following our five-step process – dispensing, emulsifying, distributing, styling, and setting – you can consistently achieve a great style that lasts. Remember the critical importance of starting with clean, damp hair and avoiding over-application to keep flakes at bay.
No more compromises between hold and a clean, natural look. With these tips, you’re now equipped to confidently apply hair gel, sculpt your desired style, and enjoy a polished, flake-free finish all day long. Experiment with different gels and techniques to find what works best for your unique hair and style preferences. Your journey to perfect hair starts here!
Ready to transform your hair styling routine? Share your favorite gel tips in the comments below, or explore our other guides for more expert hair care advice!
